Glider Construction Instructions
Background music (optional):

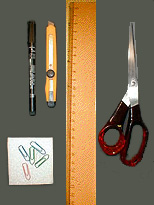
Material and Tools:
- Styrene or Depron sheet: 2mm thick, approx. DIN A4 (hardware store)
- Paper clips
- Permanent marker, ruler, scissors, craft knife
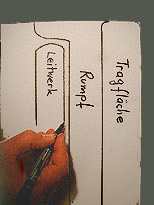
- Draw the fuselage, wing, and tail unit on the styrene with a permanent marker!
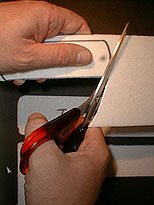
- Cut out the fuselage, wing, and tail unit!
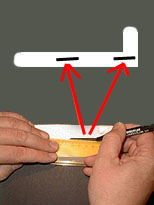
- Mark the insertion slots for the wing and tail unit on the fuselage!
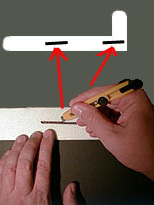
- Cut out the markings with a craft knife.
- Caution: Risk of injury! Be careful when handling the knife!
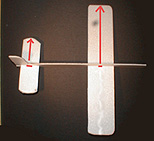
- Assemble the fuselage, wing, and tail unit!
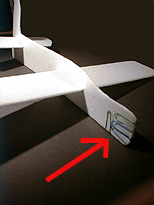
- Attach paper clips to the front of the fuselage.
- Ready for the first test flight!
Tips and Tricks:
- Have patience with the first flight attempts! Influence the flight by the number of paper clips.
- The slots must be cut out carefully.
- There should be an angle of about 2° to 3° between the wing and the horizontal stabilizer.
- The center of gravity should be approximately in the middle under the wing.
- The glider flies more stably with a slight V-shape of the wings.
- Tobias Arnoldt has a site for Paper Airplanes.